Friday, September 20, 2013

Challah Covers

 Shalom brothers and sisters in Messiah!
 We pray that you are all doing well and that YHVH is using you for His glory! 

Sukkot is finally here! We are so excited when it comes
to this time because we know we are rehearsing for the day that we will 
be together with our King and take part of the Marriage Supper
 of the Lamb with Him and be with Him FOREVER!!

Anyway, we are also excited to show you some of the new things that 
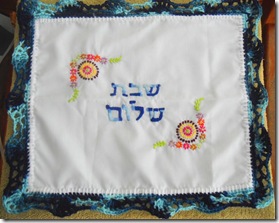
our dear wife/mom Sister Tammy and our dear Sister Benilda have made, Challah Covers!

On to the pictures!
__________________________________________________________________________

Pictures(animals, Challah Cover, Etc.) 170 (2)Pictures(animals, Challah Cover, Etc.) 173 (2)

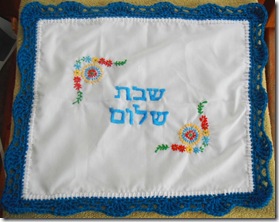
These are hand-made crocheted and embroidered Challah Covers that Sister Tammy and Sister Benilda have made. They love doing things with their hands and the things that they do always look like a work of art!*

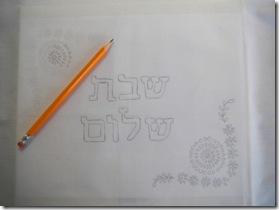
Keep reading to see how they are made:

Pictures(animals, Challah Cover, Etc.) 009

Our wonderful wife/mom is the one who came up with this beautiful design(well, sort of LOL). 
She has such a knack for beautiful art in crocheting and embroidering. 
In fact, she actually got a college scholarship, and while she may not like to say
 much about it, we think she has done a beautiful job and that YHVH has really 
blessed her with the ability to do things with a needle 
and some thread that many of us couldn’t even dream of doing.

 Pictures(animals, Challah Cover, Etc.) 025 Pictures(animals, Challah Cover, Etc.) 028

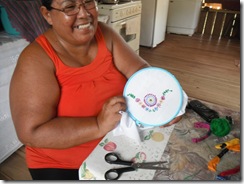
Our dear Sister Benilda has done some great embroidering and this is just
 one of the examples. She has blessed us so much with everything that she has done.
 A part of each donation for the Challah Covers goes to bless Sister Benilda 
for the time that she has put in to help us make each one of these Challah Covers. 
She loves to do things with her hands and she is so fast Sister Tammy can’t keep up with her LOL!

 Pictures(animals, Challah Cover, Etc.) 137

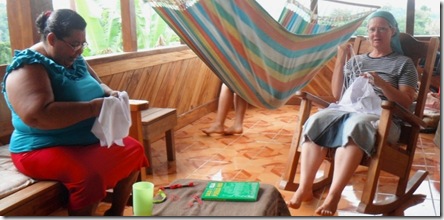
These two sisters are working hard there, aren’t they? But they love to do it because 
they know how much of a blessing it will be to someone. 

If you would like one of these Challah Covers, please go to the 
Mayim Chayim Facebook Page(link below) or write in the comment box
 on this blogpost and let us know so we can give you more information on how to get one.
 Right now there are only those two colors, however they are making 
several more in different colors. If there is a specific group of colors that
 you might want, please ask so that they can see if they have
 those colors , as it is much harder to get more thread and yarn here:


May YHVH bless you for your gift!
_______________________________________________________________________

Please pray for our servant family. We are in the process of possibly getting
 a visa to stay here for an extended period of time so please pray for the 
provision to be able to pay for it. We know that YHVH is in control and that 
His will WILL be done in this matter but we REALLY need your prayer at this time. 

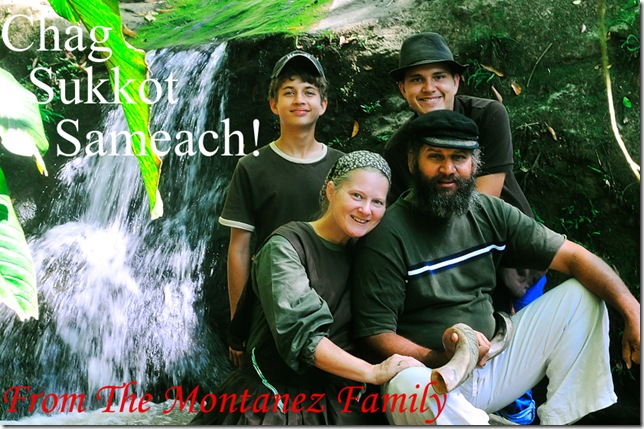
Sukkot Family Picture

It’s easy to forget about one another in this fast-paced, never-seeming-to-stop way
 we call life, and one of the best ways to remember one another is through
  picture form, so feel more than welcome to print this out. 

We pray that you all have a great Sukkot and that YHVH 
will bless you and make you a great blessing in the lives of the people around you!

Until next time…

Shalom! 
The Montanez Family 
Servants and Emissaries of Yahshua, Children of YHVH
 HalleluYAH!

*In case you are not sure what those letters are on the Challah Covers, they are Hebrew letters and mean
 ‘Shabbat Shalom’, or roughly translated in English as‘Peaceful day of Rest’ or ‘Peaceful Sabbath’, although really it goes much deeper than that.*

Thursday, September 5, 2013

A Fiery Furnace…

Shalom brothers and sisters in Messiah!
 I pray that you are all doing well and that YHVH is using you for His glory!

This post is an exciting one as we are going to show you how to 
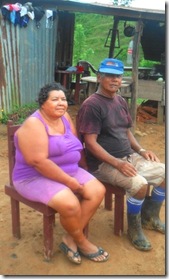
build an outdoor(Costa Rican-style) oven. Brother Eulogio and Sister Benilda used to
 have a bakery were they lived before they came here to the mountain about 4 years ago 
and they had wanted to build a new one so that they could sell bread and things like that again. 
 After talking to them about it, we decided to do it together. 

Use20

So anyway, on to the pictures!
_______________________________________________________________________

1 Kings 8:51
‘For they are Your people and Your inheritance, whom 
You brought out of Mitsrayim, out of the iron furnace.

 Psalms 12:6
The Words of YHVH are clean Words, 
Silver tried in a furnace of earth, Refined seven times. 

JuneJuly 060  JuneJuly 095 

This is a basic, fairly easy to make oven that is inexpensive and will last
 for years(which is a plus when you live in the middle of the jungle LOL). 
In fact, the main ingredients (besides the top layer of concrete on the foundation
 and the broken clay tile) all can be found in your backyard(that is, of course, if you 
have some cows, horses, and a lot of really good black mud/dirt)!

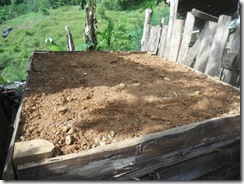
Now, to make this oven, 1st you need a flat foundation, and preferably 
a raised one, that way when you are making your bread, 
pizza, pies, etc. you don’t have to crouch down all the time.
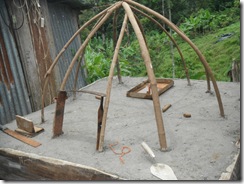
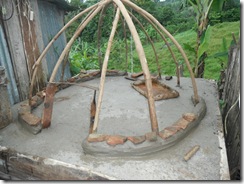
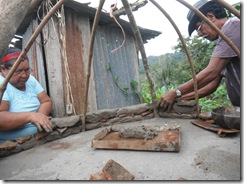
As the foundation is drying, you need to find some medium-length sticks
 about 1-11/4 inches thick that can bend some without breaking but have enough resistance 
to hold the mixture that will be laid over top of them. The holes where the bread and
 wood goes in is about 16 inches tall and about a foot wide on both sides
(front for the bread, back for the wood) and are outlined by pieces of old tin
 roofing that are cut into pieces about 4-5 inches wide and as tall as the hole.


*NOTE*

*Remember to put more sticks than what you think it will need. If you don’t it 
won’t be strong enough to hold the mixture and it will begin to fall before it finishes drying. 
We had to put more sticks after we began because we could 
see it begin to cave in in between the spaces of the sticks.*


Then you need to make a hole to put the mix in. It should be at least knee-high and
 2 1/4- 2 1/2 feet in diameter. Now, what exactly is this mixture? Well… that’s classified, 
it would be too dangerous to tell you…oh wait, you really want to know, 
don’t you… hmm… are you really sure?… well… OK, we’ll let you in on it, but don’t say 
we didn’t warn you. This mixture is made of a couple of ingredients, including mud, grass, water,…

JuneJuly 097

COW AND HORSE POOP! …..

Well, we warned you, but you really wanted to know. But it gets even better. 
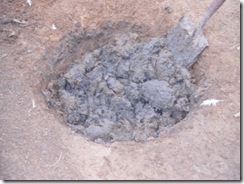
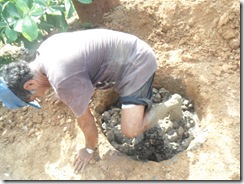
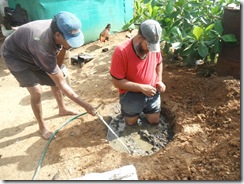
How do you mix this fine mixture? Well, you probably don’t want to
 know… ok… ok don’t make such a fuss, we’ll tell you.Well, a shovel may work 
for a while, but it won’t evenly mix everything because of how 
deep the hole is. That is why after a certain point you gotta use your…

JuneJuly 056JuneJuly 061

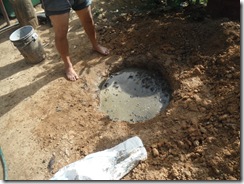
FEET! It has to be very well mixed and very wet as you see in 
the pictures above and below, that way as it dries it will become stronger and more durable.

JuneJuly 057  

After it dries for about 7-10 days, it will be ready to use. Now, to begin
 making the actual oven part you will need to roll out the mixture. 
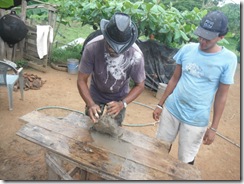
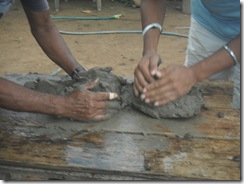
Yes, with your hands of course! You have to knead the mixture(like bread), 
and then shape it into an ovalish piece about a foot long…

  JuneJuly 099 JuneJuly 101  
 JuneJuly 105JuneJuly 106

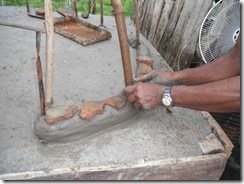
Like this! Now it is ready to begin the building stage. You take one of these ‘loaves’, 
plop it down on the outside of the wooden sticks, and shape it to
 the mold of the oven, trying your best to make it even on top.   

JuneJuly 109  JuneJuly 111

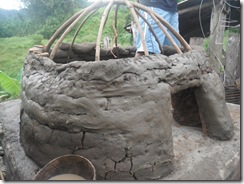
Now, after every layer, you need to place some broken clay tile pieces 
so that it can hold each layer better and therefore make it stronger. 

 JuneJuly 112  

Then it’s time to put another layer of mud ‘loaves’ on top. 
Then we add more broken tile, then more mud ‘loaves’, and we keep
 going and going and going, trying to make sure it stays in shape all the way to the top!

*Note*
*MAKE SURE YOU DO THIS IN FULL SUNLIGHT! We made the mistake 
of doing this during a very cloudy and rainy time. We got the first couple of layers 
done and then we had to stop because it began to rain. We covered it with some 
blue tarp so that it wouldn’t get so wet but after that began a week of rain and 
another 10-14 days of off and on rain, so that by the time we were 
able to continue building, it was nearly 3 and a half weeks after we first began! 
So remember, FULL SUNLIGHT!*
_______________________________________________________________________

 Challah Covers, Oven, Marbles, etc. 110 Challah Covers, Oven, Marbles, etc. 112

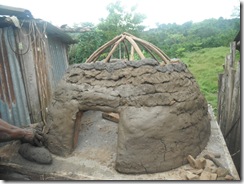
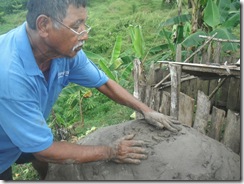
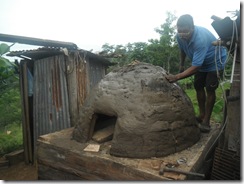
Now here it is 2/3 of the way done. As it gets further up it becomes harder
 and harder for it to stay in shape, which is why we needed to put more sticks. 

 Challah Covers, Oven, Marbles, etc. 113
Challah Covers, Oven, Marbles, etc. 114 Challah Covers, Oven, Marbles, etc. 115

Remember, this is supposed to be a family project, so enjoy it! 
It’s a lot of work but it will be worth it. Just think of all the good, fire-cooked bread 
loaves you can make… of course you might just want to make pizza
 or cake instead after all the ‘loaves’ you have already made(LOL)!! 

Challah Covers, Oven, Marbles, etc. 121 Challah Covers, Oven, Marbles, etc. 117

Now, once you get to the top, you have 2 choices to make. You can either just do
 the mud all the way to the top, or you can put a piece of tin roofing on the
 very top to make it a little stronger and cover it with mud. We decided to put
 a piece of tin on top. You have to cut it into a circle and shape it
 to the top of the oven, then put mud on it to help it stay there.

Challah Covers, Oven, Marbles, etc. 122

Now, once you are done that, the main part you have to do is done(YAY!). 
Now, there are only 2(or 3, depending if you want a roof to go over top of the oven or not)
 things to do. 1st you need to fill any indents or holes in with mud
 that way the oven looks better and cooks more evenly too.

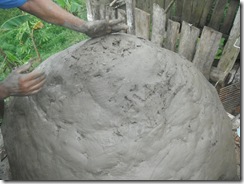
Now, as the oven begins to dry, cracks will appear all over, like this:

Challah Covers, Oven, Marbles, etc. 140 

This is normal and will happen. Just let it dry out and then there is 
a mixture you make of powdered limestone(called Cal here in Costa Rica) and cement
 to fill in the cracks and give it a very nice, finished look. We haven’t done
 that yet but will do it soon so when we finish it we will put some pictures up.

Challah Covers, Oven, Marbles, etc. 124Challah Covers, Oven, Marbles, etc. 139

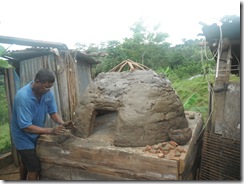
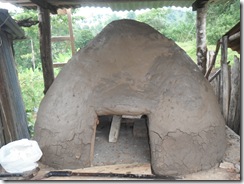
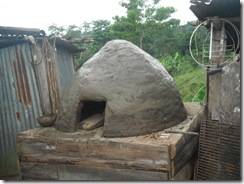
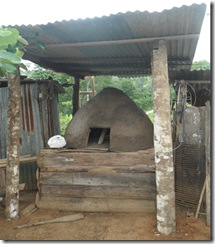
Anyway, here is the almost finished look! Brother Eulogio had a great idea 
and made a roof for the oven, that way you could cook in the rain too.
 This is a lot of fun to build and it gave us some time to talk to them more
 about the Word. Pray for them as they continue to learn and come 
closer to the Real Truth and unlearn the false teachings that they were taught. 

Until next time…

Shalom!
The Montanez Family
Servants and Emmisaries of Yahshua, Children of YHWH
HalleluYAH!